Sounds for parts with Wwise and Unity: Difference between revisions
Spacewarp>Munix No edit summary |
Spacewarp>JiMKesa No edit summary |
||
| Line 10: | Line 10: | ||
[[:Category:Getting started]] | [[:Category:Getting started]] | ||
=== First step: Wwise === | === First step: Wwise installation === | ||
You need to create an account : https://www.audiokinetic.com/fr/products/wwise/ | You need to create an account : https://www.audiokinetic.com/fr/products/wwise/ | ||
[[File:2024-02-09 16 13 04-Wwise Audiokinetic.png|center|thumb]]Next : Install Wwise Launcher | [[File:2024-02-09 16 13 04-Wwise Audiokinetic.png|center|thumb]]Next : Install Wwise Launcher | ||
Revision as of 09:31, 10 February 2024
Sounds for parts with Wwise and Unity
First, install your Unity environment, SpaceWarp template, ...
There are already excellent tutorials that explain these steps:
https://github.com/SpaceWarpDev/SpaceWarp.Template
First step: Wwise installation
You need to create an account : https://www.audiokinetic.com/fr/products/wwise/
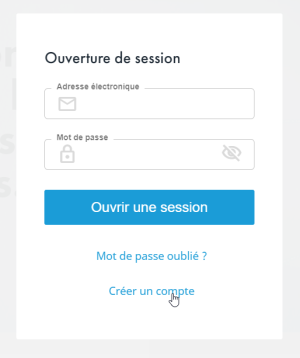
Next : Install Wwise Launcher

Wwise is free for a 200 sounds databank.
Ok, now a warning :
When I started my mod, I couldn't get the sound to work with the latest 2023 version of Wwise.
So I continued to use version 2021 of Wwise to prepare my sounds and I integrated version 2023 of the Wwise libraries into Unity for maximum compatibility.
So I will explain how I did it but maybe you can try directly with the latest 2023 versions. If you succeed, let me know so that I can modify this tutorial.
So, this tutorial will first install version 2021 to be able to have a Wwise project in 2021 format then I update the Wwise libraries in Unity in 2023 format.
For these reasons, here are the versions of Wwise on my computer:
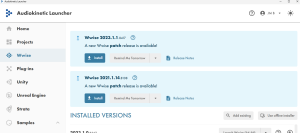
Ok, now let's prepare the environment for Unity. Wwise normaly will found your existing projects. We'll integrate Wwise on projects now :
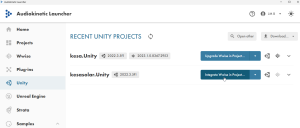
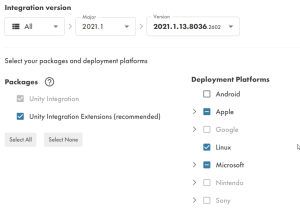
Next, select Wwise version (2021.1.13.8036 for me) and plateform(s) you want :
If some packages are missions for destination plateform(s), this message will appear :

Clic Modify Wwise…. And add it.
The SDK is required. It should also be added.
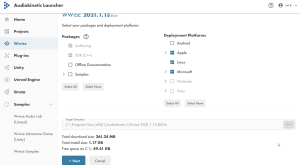
Clic on Next to perform installation.
When ok, come back to Unity integration.
If SDK is not set, choose it :

Wwise project need to be created. For that, leave the field empty :

Unity integration is ready :
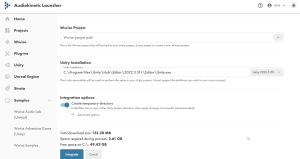
Then, clic on Integrate.

Now that the Wwise project is created in 2021 format, I can update the Wwise libraries in the Unity project.
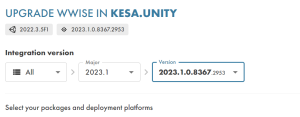
It's OK. In the screenshot I can update to the latest version 2023. I won't do that because I'm sure everything is fine with the versions I chose.
I will do a test later for the latest updates.

Normaly, now, your Wwise project will appear on the Wwise Launcher. I work on my projects with the 2021 version of Wwise. I will open the Wwise project that was created:

Step 2 : Wwise project
You need to create your sound databank :
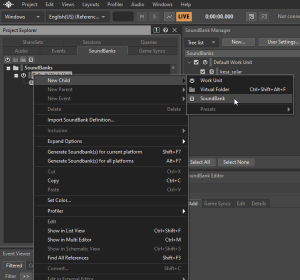
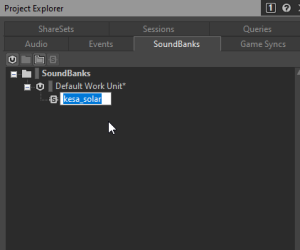
Your soundbank is now created.

I'm only using windows plateform and English language but you can add/remove/modify :
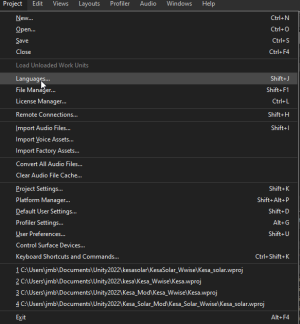
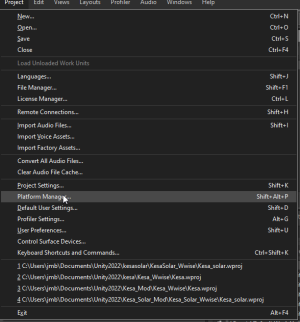
Next step : importing your audio files. I'm using .wav format.
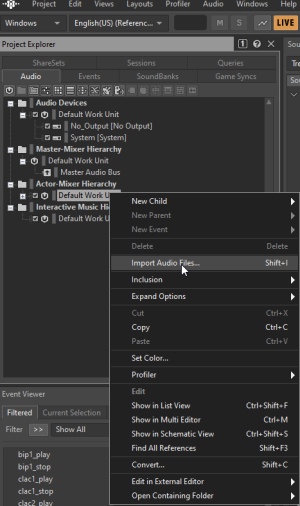
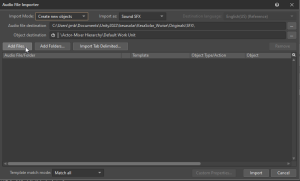
Select your wave file on your computer.
Then, import :
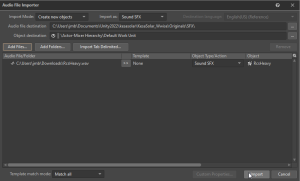
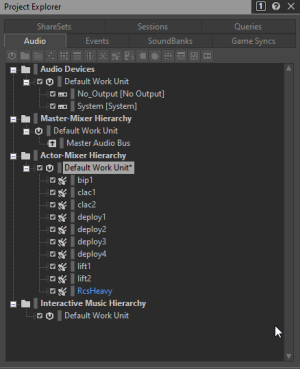
My new sound appears on the list :
You can double click on you audio (for example if you want to set a loop) :
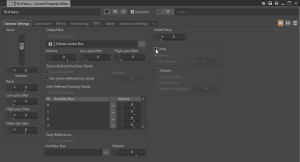
And close the window.
Now, you have to set events with your audio for using in Unity : one for playing it, one for stopping it :
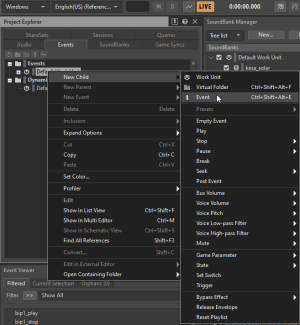
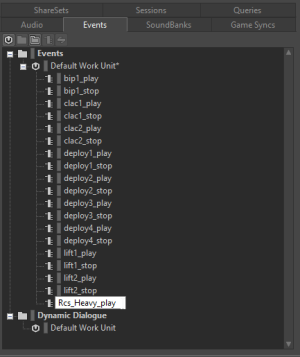
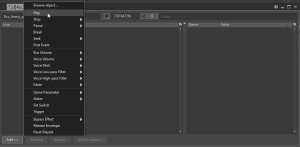
Clic on your new event for setting it :
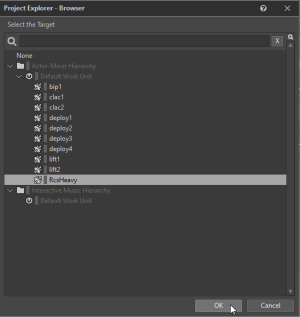
Right clic on Target field for assign an audio to this event :
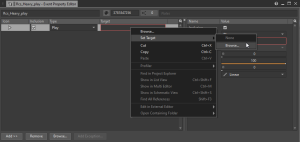
Select your audio :
Same event creation for stopping audio action :
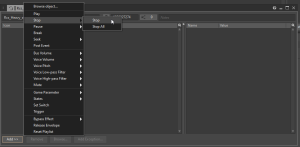
Same for playing, assign your audio to this envent.
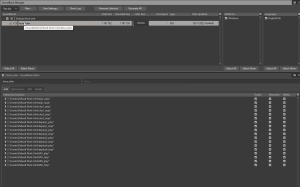
Now both events appear on the list :
To finish, you must assign new events to your soundbank. For that, select your soundbank and drag and drop your events on the bottom window :
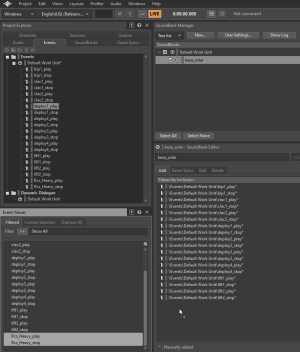
Ok, ready now.
Now, just generate your soundbank for using it with Unity and your final mod :
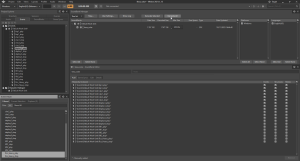
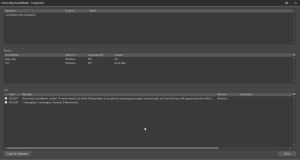
Your soundbank is now in your wwsise folder <Wwise Project>/GeneratedSoundBanks/Windows
You have to copy the file .bnk in your KSP2 mod folder <Your Mod>/assets/soundbanks/
Now, keep your Wwise Project open and start Unity.
Step 3 : Unity project
Normaly, both are connected. We will verify in the wwise picker window :
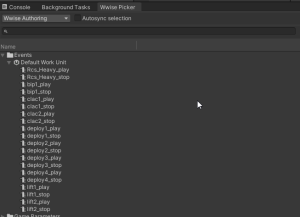
All your soundbank events normaly appear on this window.
I will show you 2 ways for using them.
Example 1 : add an engine sound
First, I create an empty gameobject for sound : u_amb_Engine
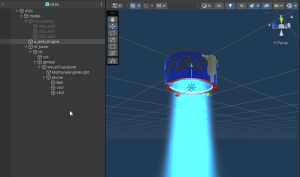
And on it few Components :
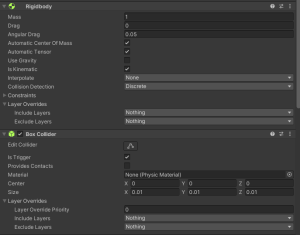
In Rigidbody, check "Is Kinematic" and uncheck "Use Gravity" !
Next, add audio Components :


For Rtpc mapping, I’ve created AllRTPC:
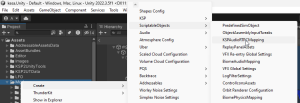
And for your engine audio :
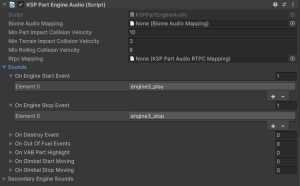
I’ve select 2 events for playing and stopping my engine sound : engine3_play & engine3_stop
That’s all. Now your engine will have sound !!!
Example 2 : sound in animation
For this example, I will show a solar panel with animations for deploying and retracting.
First, I create an empty gameobject u_amb_audio_solar_arrays
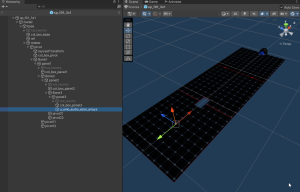
I've add components on it :
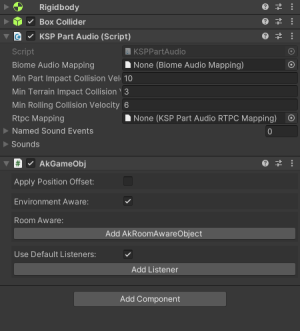
In Rigidbody, check "Is Kinematic" and uncheck "Use Gravity" !
On the gameobject with Animator component :
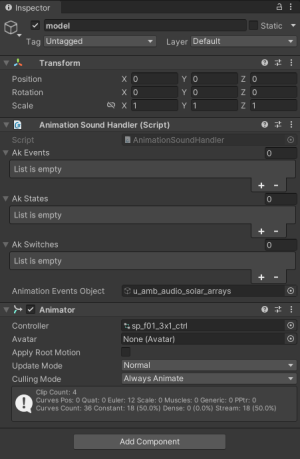
Drag & drop your u_amb_audio_solar_arrays gameobject in Animation Events Object field.
Then, we can set audio in animations, on deploying and retracting.
On the first timeline, in your animation windows, on the first frame, right clic :
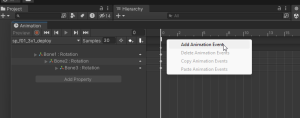
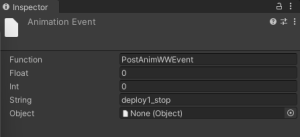
And set in Inspector :
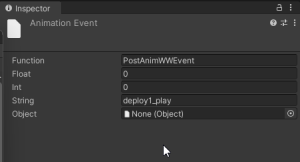
Same action for the last animation frame :
Now, my animation has 2 audio events (white rectangles), in the first frame to start the sound, in the last frame to stop it :

Animations can have multiples sound events :

That’s all, now your part has sounds.
You know as much as I do now. I hope this tutorial will help you.
Don't hesitate to provide feedback, corrections, ... I don't have the knowledge :-)